
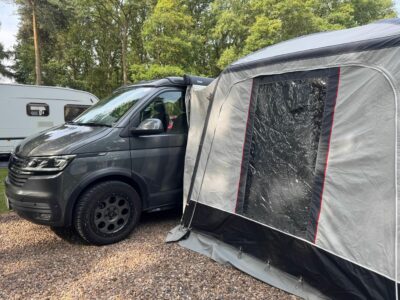
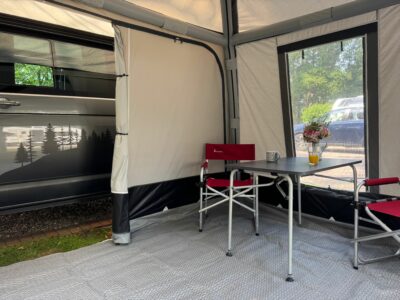
When touring in a motorhome or campervan a drive away awning is a brilliant way to expand your living space. It gives you that much-needed room for lounging, cooking, or simply storing kit – and when you head off the day you can leave it pitched up to return to later.
In this video guide, we teamed up with Nathan from Isabella to get his expert advice and tips on how to use a drive away air awning with your leisure vehicle – from setting up to easily driving away and reconnecting to your motorhome or campervan when you return to your pitch.
Watch the full video here:
Why choose a drive away air awning?
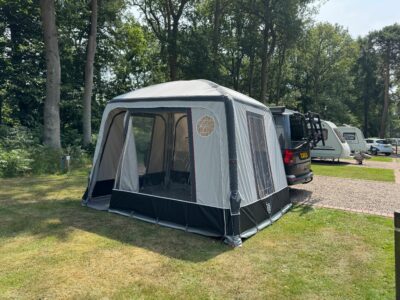
A drive away awning attaches to your motorhome or campervan, usually using a connection kit and tunnel, and gives you a handy sheltered area to extend your living space. They’re especially useful if you’re on a longer trip or want the flexibility to explore in your vehicle without having to pack everything pack into your campervan or motorhome every time.
Drive away air awnings are quick and easy to inflate, and many come with features like large windows, mesh panels, and inner tents for sleeping, storage or toilet/shower use.
Expert tips for setting up and using a drive away awning
Here are the key steps and expert tips that Nathan shares in the video:
1. Pitching your drive away awning
Before you begin, decide where you want to pitch your awning by aligning your campervan or motorhome in the correct position.
Think about the pitch layout – in the video, we chose to park with the awning sitting on grass next to a hard-standing area.
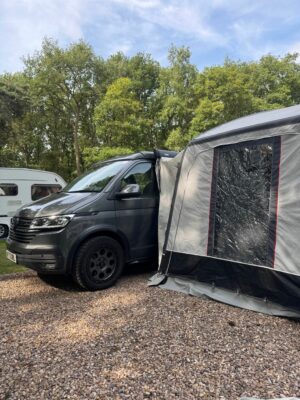
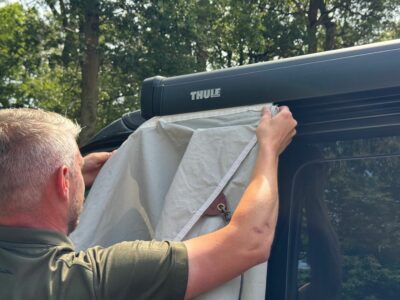
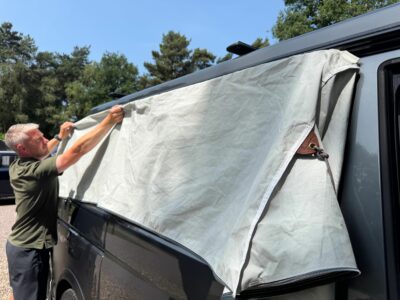
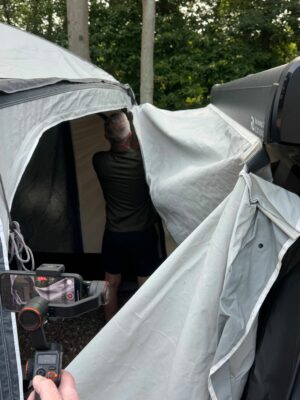
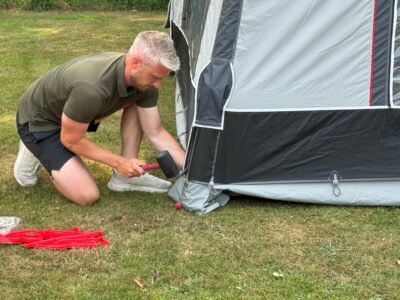
2. Attaching the tunnel
Start by attaching the tunnel to your motorhome or campervan. How you do this will depend on the connection style, e.g. to a wide out canopy, awning rail or using straps over the top of your vehicle, or even velcro straps around a roof bar.
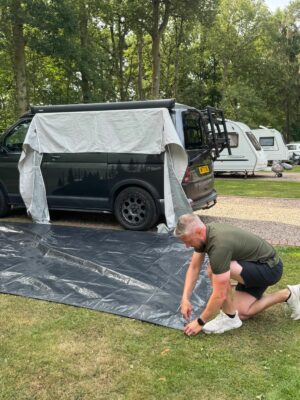
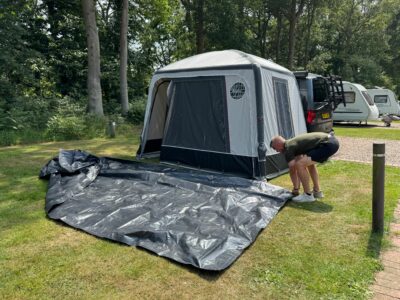
Then lay a tarp or groundsheet on the floor to keep the awning clean while unpacking. Perhaps peg this down to stop it blowing away.

Check the awning’s valves are closed and remove the back panel before you start to inflate it.
2. Inflating the air beams
Use the supplied pump to inflate the air beams. Some air awnings have a single point of inflation but if not start with the main beams first.
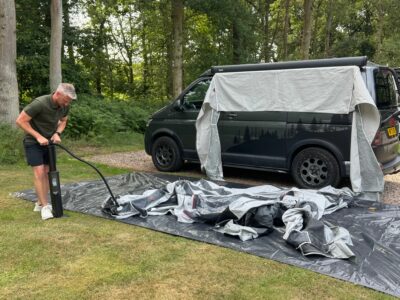
Partially inflate the awning and move it around so it stands up. Zip any open panels closed before inflating fully. Don’t overinflate – most air awnings have a pressure limit of around 7–8 PSI.
Top tip: Check the inlet valves before inflating the awning to make sure there is no dirt behind them as this could cause air to escape. Monitor the air pressures during your holiday – in hot weather reduce by two or three PSI. Also check the cable ties which hold the zip of the air tube sleeves to make sure they’re still connected and not damaged.
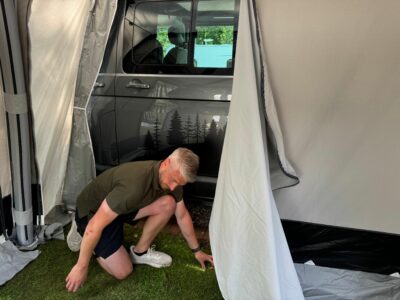
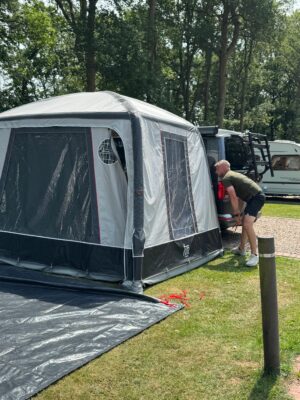
3. Attaching it to your motorhome
With the awning frame up, connect the awning to the tunnel.
In our video, the awning simply zips onto the tunnel that we attached earlier. Zip in the back panel and remove the tarp or groundsheet.
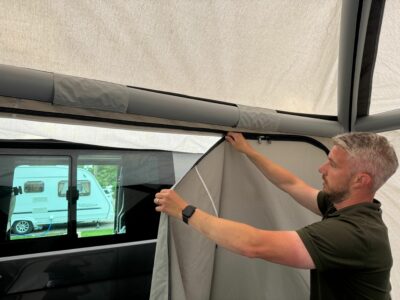
Top tip: Make sure all your panels are zipped in before pegging our your awning and peg out the tunnel so you create a gulley for rain water to run out of.
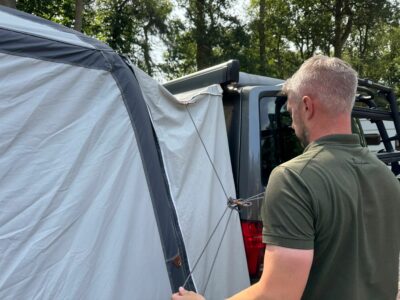
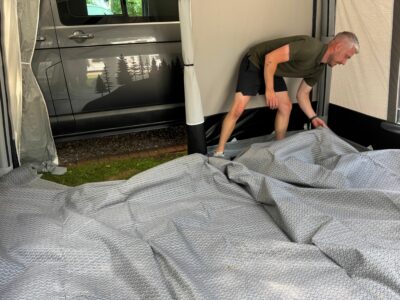
4. Pegging out a drive away awning
With the awning attached to the campervan or motorhome, pull it away from the vehicle so the tunnel is nice and taut, pulling out the corners. Then using the correct awning pegs for the surface the awning is pitched onto, start with the two pegging points closest to the vehicle and peg underneath your van, pulling the awning so it’s tight.
Then repeat at the front corners of the awning.

With all four corners pegged down, peg out the rest of the awning, crossing the pegs over where the sides meet a panel for extra strength. And in the doorway, pull the peg towards the opening to keep the side nice and taut.
Open up the back panel and peg this out before adding a carpet.
Top tip: Check your pegs throughout your holiday to make sure they are still firmly in place.
5. Driving away
To drive away, simply unzip the tunnel or detach the connection strip and zip up the back panel so the awning stands alone.
Mark the position of your campervan or motorhome wheels and the sides of your motorhome to help you park back in exactly the same spot later. You can use awning pegs, a guy line with pegs or fluorescent strips to create a “landing strip”.
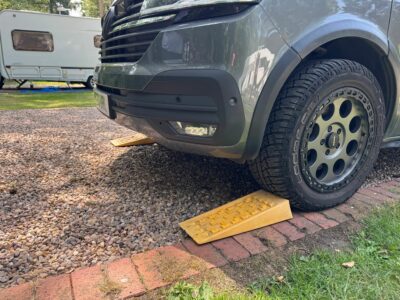
We found placing levelling ramps in front of your front wheels will give you something to butt your wheels up to. You could even peg those into the ground.
Top tip: Secure the awning with guy lines or storm straps if going out for the day in case the weather changes and to keep your awning secure.
6. Reattaching the awning
When returning to your pitch, reverse or drive into the same position to reconnect the awning, making sure you’re parallel to the awning. Line up your wheel markers and make sure you have enough of a gap to attach the tunnel section. Then simply zip in or reattach as you did earlier.
Top tip: Make sure you have enough room to open up a sliding door when lining up your vehicle to reattach the awning,
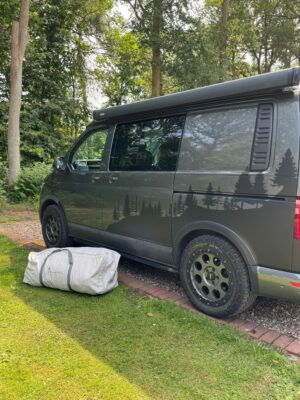
7. Packing the awning away
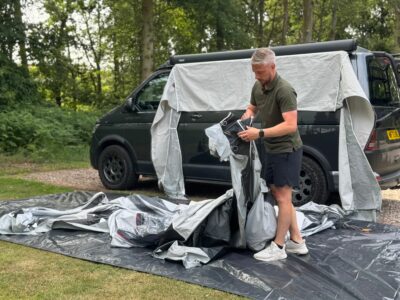
Lay down a tarp or groundsheet again and remove the back panel and release the front panel slightly.
Open the air valve/s and then unpeg the awning.
Lie it onto your tarpaulin or ground sheet, and have the awning bag in front of the awning so you know what size you need to get your awning down to. Fold the panels in, and then roll towards the valves just to get the last little bit of air out before packing into the bag.
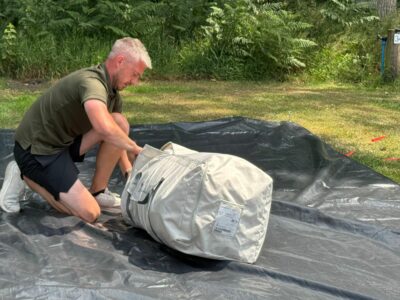
Top tip: Wipe down and clean any marks from the awning before packing away. If it’s been packed away wet, dry it out at home.
Don’t forget, Caravan Guard’s specialist motorhome insurance covers storm damage to both your awning and leisure vehicle, giving you peace of mind whatever the weather.
Over to you!
Do you use a drive away awning with your motorhome or campervan? If you’ve got any top tips for pitching, securing, or reconnecting your awning we’d love to hear them. Simply share your comment below…
another idea for markers to help get your van back into the correct position is a brightly coloured tennis ball with a tent peg through it stuck into the ground next to the lowest point of each tyre on the ‘tunnel’ side. I found this worked well, manoeuvring the van until the bottom of each tyre was tight to the side od the ball furthest away from the awning.
Great idea. Thanks for sharing Bruce
Might be worth adding to your awning video..if you have a two beam air awning ( and not the cross over type as per the video) it is easier to walk the front beam back to the rear beam before dropping to the ground and before deflating the beams. That way it naturally folds in itself.Once deflated, easy to fold/roll and pack away.
Thanks for sharing Gary