Before setting off on our motorhome holidays at the start of the season we should always check our van to make sure it’s safe and legal and that we haven’t forgotten anything.
In this video, we going through a number of pointers as part of our motorhome pre-departure checks. These are particularly important if your motorhome has been laid up for a while or it’s your first trip out at the start of the season.
Fluid levels
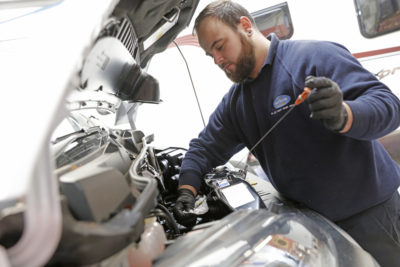
Make sure you have plenty of screen wash, coolant and oil in the system. Depending on the manufacturer of the engine will dictate when you should check your oil, either cold or slightly warm, so check your motorhome handbook for details. When checking the oil, make sure the motorhome is on level ground before using the dip stick.
Battery checks
Motorhomes will have two batteries. One for cranking the engine into action and then the leisure battery for running all the electrics in the habitation area.
Check both batteries are in a good state of charge. For the leisure battery you can use the inbuilt voltmeter in the motorhome or better still a multimeter on the battery terminals. If the battery shows a voltage of 12.4volts or lower it will be in a highly discharged state and if left in this state it might be damaged. A voltage of 12.7 or above will show a fully charged battery.
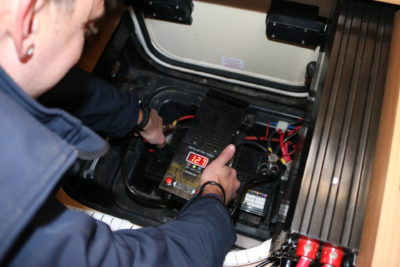
Also check the condition of the batteries, look for cracks, bulges or splits and any trace of liquid around the battery case. If the battery is damaged, you should replace it immediately.
Tyres
Checking the tyres should be done each time you set off for a holiday. It’s important that your motorhome tyres are in a good, roadworthy condition.
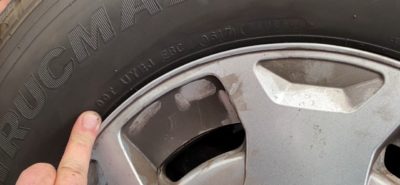
Check the outside of the tyre walls, and that there’s at least 1.6mm of tread 75% across the tyres tread pattern. Whilst we’re looking at the tyres, let’s check the age too. It’s recommended that tyres are changes between 5 and 7 years of age, and we can find the age by looking for DOT then 4 numbers on the side of the tyre. In this example the tyre has the code 0617 and that tells up this tyre was manufactured on week six of 2017.
Finally, check the pressure on all your tyres, including the spare, and consider fitting a tyre pressure monitor to give you that extra peace of mind that this is being constantly monitored.
Windscreen
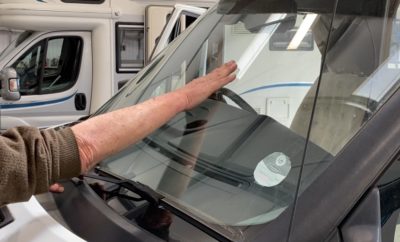
One of our most common motorhome claims is for windscreen repairs or replacements, which can be caused by a small chip that then spreads into a crack. Checking your windscreen for chips means you might prevent it from developing into something a lot worse.
Electrical items
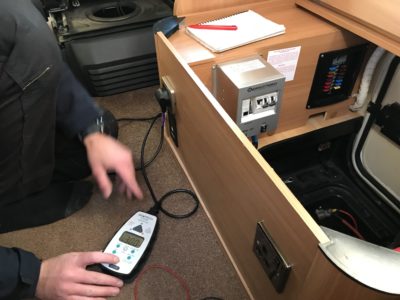
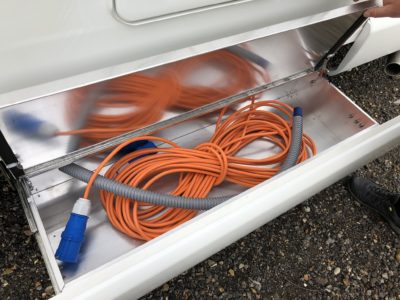
Check items such as the electric hook up cable for any splits or damage and that the plugs are in good order. If you find any damage, it’s not worth the risk, simply replace with a brand-new one.
Change the batteries in smoke alarms, TV remotes, torches and if you have them installed tyre pressure monitoring sensors too.
Gas
Make sure the gas bottles are full of gas, and that the cooker, oven and grill all light with a steady blue flame. If you find a yellow flame, switch off immediately and have your motorhome checked over by either an approved workshop or dealership or mobile engineer. Check your gas hoses – if damaged or the date stamp shows more than five years ago get these replaced.
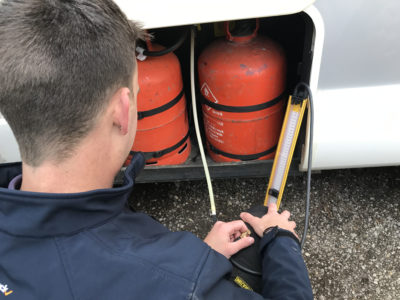
Before setting off make sure the gas is turned off and that the gas cylinders are securely fastened upright in their locker.
Road lights
With the engine running, switch on all the headlights, side lights, indicators, fog lights and test the brake lights.
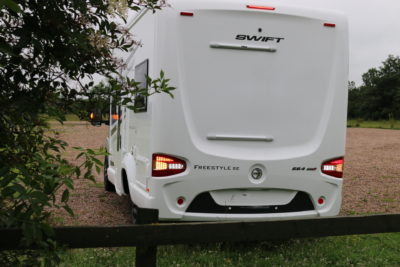
Check that all the bulbs, marker lights and light clusters are free from damage, have no condensation and are fully working. With the engine off, check the reversing lamp too. Don’t forget the rear number plate light and the marker lights at the front and sides of the motorhome are also working. Replace any faulty bulbs.
Sterilise water systems, tanks and hoses
Clean the freshwater systems of any bacteria by using products such as Puriclean. Dilute the chemical into the freshwater tank. Allow the hot water tank to fill and turn on the taps and shower to draw some water with sterilising fluid into the pipes Leave to sit for 8 – 12 hours before emptying and refilling with clean water. Allowing the pipe cleaner to flow down the sink and shower tray will also clean the waste systems too, but a stronger chemical should be used for the waste tanks.
Don’t forget to pack a hose for filling your on-board water tank or water containers before setting off.
Toilet cassette clean
The toilet cassette can be cleaned as well. Sometimes you may find calcification building inside the cassette, but this is easily removed by using very hot water. Simply fill and allow the hot water to dissolve the build-up.
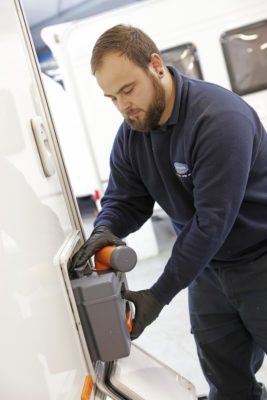
Finish off the clean by adding tank cleaner to freshen up the cassette. Don’t forget to spray silicon lubricant on the seal of the cassette.
Clean outside
The biggest task is a good clean of the outside of your motorhome. Start by cleaning the roof, remove as much debris as possible, clean in and around the solar panel to maximise charge and remove any green or black build up by using a clean paint brush.
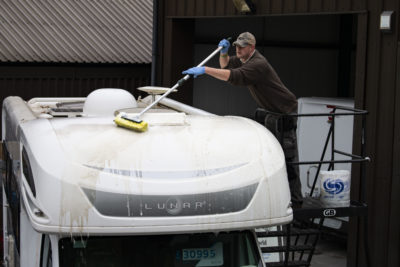
Once the roof is clean move onto the sides and front, start from the top and work down the sides. Do not clean the windows with any brushes, use your hands to minimise scratches from grit. Finish off by applying some wax to make the motorhome shine.
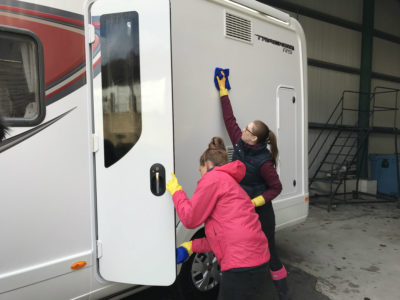
Once clean, spray silicon lubricant on window and locker seals.
Check for damage
Whilst giving your motorhome a clean it’s a good time to check for damage and to make sure all the seals are intact. See if there are any leaks inside when you’ve hosed down your motorhome.
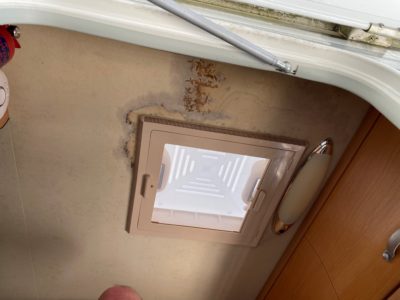
Also check for any signs of damp inside the motorhome such as watermarks, mould or a fusty smell, paying particular attention to habitation windows, doors and skylights.
Declutter
Inside the motorhome remove any items that you’ve collected over time that are redundant but eating into your payload. Items such as tourist information pamphlets or site maps are easily accumulated. Wipe the cupboards, inside and out give the entire motorhome a good dusting and wipe down on all work surfaces. Finally give the carpets, flooring and under seat storage a good vacuum.
Weight and loading
Your motorhome owner’s manual will tell you your payload – that is, the maximum weight of items you can safely carry. If in doubt individually weigh all the items you’ve added into the motorhome, plus consider things like solar panels, bike racks etc that you’ve had fitted.
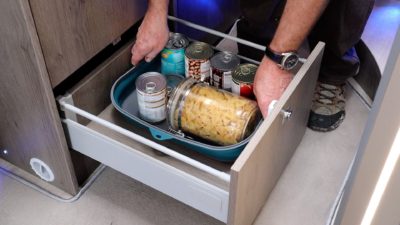
Carefully place items in your motorhome to maximise stability – lighter items high up, and heavier items low down. Try not to put too much weight beyond the rear axle or in the rear garage as that could affect handling of your motorhome. For more detailed advice see our video on safe motorhome loading.
Safety and security items
Check your first aid kit for items that might have lapsed in date and replenish any items that have been used. Items such as medication, insect repellent, anti-histamine and sun screen are also worth checking.
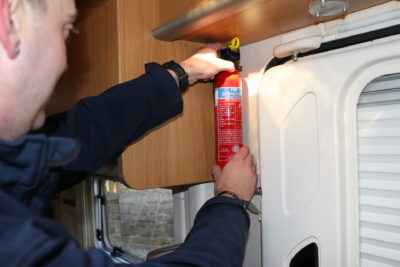
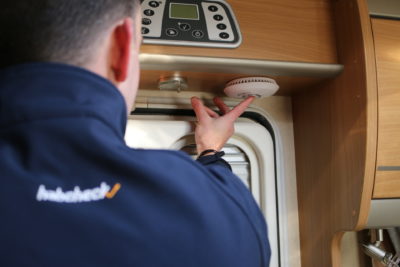
Check that the fire extinguisher and fire blanket are in good order and still in date, and don’t forget to check the fire alarm works by giving it a quick test.
If you have a tracking device, it’s a good idea to take your motorhome for a spin, pull over in a random location and then give your tracking device company a call to check that they can pinpoint the location of your van’ as this is proof that the device is working properly. This kind of service is exactly why paying an annual subscription to have your device monitored is worthwhile, and they should be more than happy to help.
And finally, don’t forget to check that any tracking device subscriptions or insurance policies are still active. Check renewal dates for member organisations as well as your tax and MoT.
Make sure you get your motorhome booked in each year for a service of both the base vehicle and habitation areas to avoid any complications whilst you’re touring.
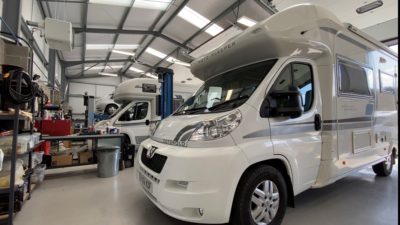
And last of all, before setting off, don’t forget to close all windows, doors, hatches and skylights, unplug the hook-up cable, empty the wastewater tank and don’t forget ramps, chocks and slip mats for levelling.
If you’ve got any further checks that you think we’ve missed, feel free to add your comments below.


great advice
Thanks Ian
Definitely helpful for our first trip out in our first motorhome. Thank you
Great advice.
It’s very helpful for those of us new to Motorhoming.
Everybody should watch or read this before setting off this year.
Very Useful Video.
Having caravanned and MO-HO’d for 55 years, it all makes sense and is understandable and well presented..
I’m fortunate that my motorhome when not touring, which has been sadly missed, resides at home so have been able to give it maintenance runs to supermarket and back, and annual MOT/Servicing so appreciated your well presented video and accompanying article for reminding me of all those habitation checks and jobs I’ll have to do in preparation for those longer trips out, thank you Caravanguard for reminder, much appreciated
Thanks Barry. We hope you have a great summer in your motorhome!
Good, but mostly it’s just common sense things any good motorhomer would do anyway
The article gave me a gentle nudge to check a couple of things I wouldn’t have thought of – and showed how to do it.
Very useful video, good to be reminded of all the things that need to be checked.