In this video, we go through how to pitch and set up a caravan after you’ve checked in at your chosen campsite.
Most campsites have either a grassed pitch or gravelled hardstanding pitch and will offer a range of options from budget pitches without electricity, to those with space for awnings, to fully serviced pitches with water and grey waste disposal.
-
Step 1: Parking the caravan
The first task when arriving at your pitch is to park the caravan on the pitch, making sure you follow any instructions from the campsite and that you’re aware of any hazards such as overhanging branches, hedges, low walls or rocks on the pitch.
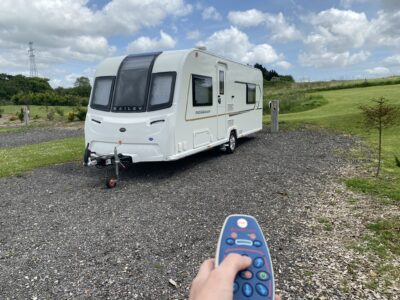
Either reverse the caravan onto the pitch by using the tow car or if the pitch is tight you can push the caravan by hand. For perfect placement, however, you’re best using a caravan motor mover if you have one.
-
Step 2: Level the caravan
Once you’ve parked your caravan on the pitch the very first task is to make sure it’s level. Start by levelling from left to right, then front to back. See our video about how to level your caravan here.
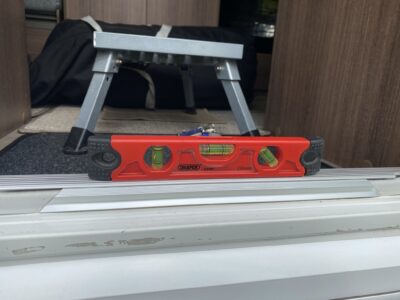
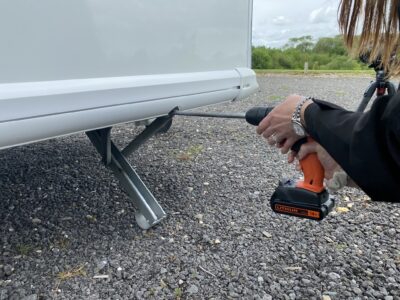
Once the caravan is level, apply the hand brake, and lower the corner steadies.
-
Step 3: Fit security devices
The caravan is now safe to enter, but don’t forget the important job of adding your caravan security devices. Fit the hitch lock, the wheel clamp or lock, and any other security items you have listed on your caravan insurance policy.
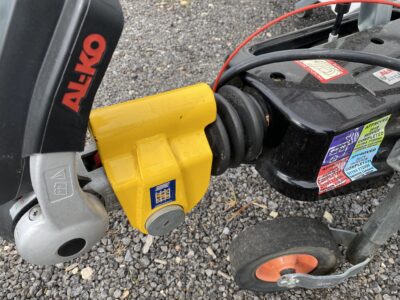
You might need to adjust the position of your caravan to make sure you can fit any axle wheel locks.
-
Step 4: Connecting services
With the caravan secure and sited, you can start connecting the services around the outside of the caravan.
Fully uncoil your electric hook up cable and connect the cable to the caravan, tucking the cable close to the caravan and any hedges so it doesn’t cause a tripping hazard. If you have too much cable, neatly lay it behind the caravan or somewhere out of the way so it can’t be tripped over. Make sure the cable is not tightly coiled at any point, as this could cause an electrical fire.
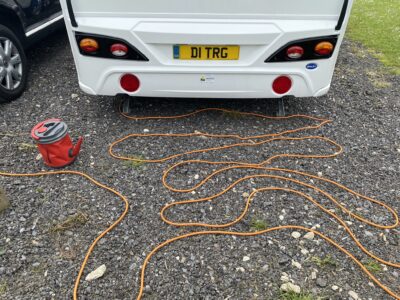
Take the cable to the hookup post labelled for your pitch and plug it in. Don’t plug it into the post first as you don’t want to be carrying a live cable back to your caravan.
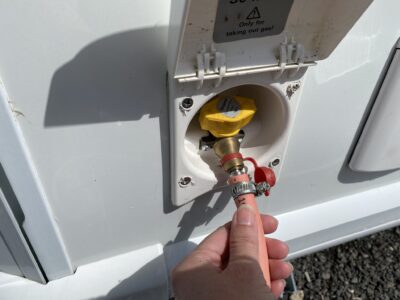
Switch on the gas by opening the valve on the top of the bottle. Don’t forget that gas bottles have a reverse thread, and also make sure the value on the regulator is open.
-
Step 5: Add and connect water services
With the power sources connected it’s now time to set up the water supply.
Take your freshwater container, plus a watering can, to the service point, and fill both with as much water as you can.
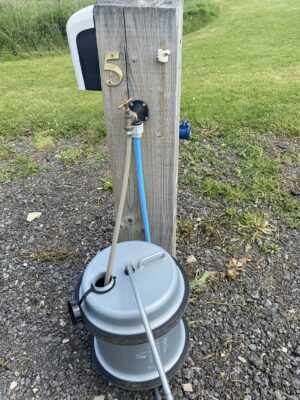
Back at the caravan, submerge your water pump into the water barrel or Aquaroll, and bob the pump up and down to remove any air from it. Then plug the pump into the caravan.
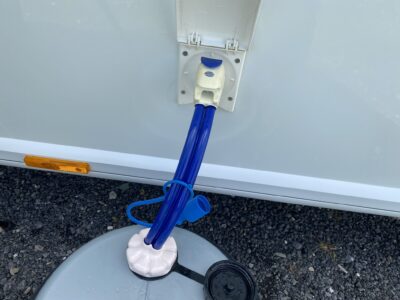
Next, connect the waste pipes to the caravan greywater outlets and insert them into the wastewater container.
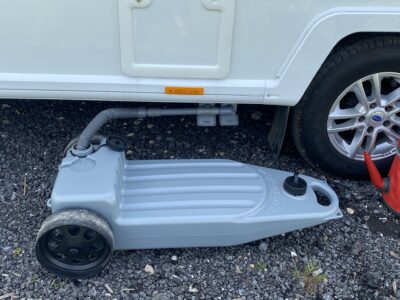
A top tip is to point the waste container slightly downhill to make removal easier when it’s time to empty it.
-
Step 6: Set up a caravan toilet
If you have one, fill the caravan toilet flush tank with water from the watering can and add any flush additives you like.
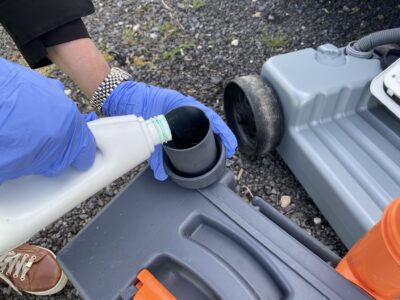
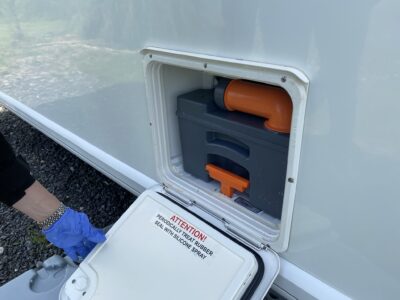
Remove the toilet cassette from its housing and add the toilet chemicals as per the instructions. Then put the toilet back into its housing. See our video all about caravan toilets for more information.
-
Step 7: Close the water taps
Heading inside the caravan, before you switch anything on it’s a good idea to check that all the water taps are closed. Check the shower, the washroom and the kitchen.
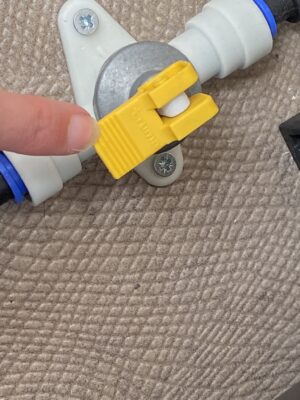
Don’t forget to close the yellow drain down valve that will probably be located next to your hot water tank.
-
Step 8: Switch on
Open the kitchen tap to the hot water position then, switch on the caravan at the master switch or mains power, and switch on the water pump.
The open tap in the kitchen will allow any air that is in the hot water tank to be pushed out. Once water is flowing from the tap in the kitchen, select cold water and allow any more air to be released.
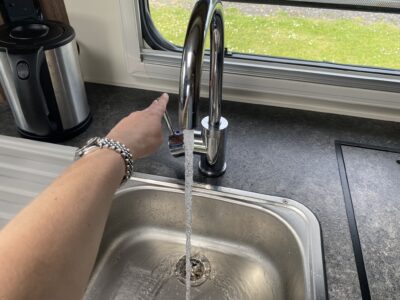
Do the same for the washroom sink and shower. Don’t panic if you see a sudden spurt of water from a tap – this is quite normal.
With air now bled from the system you can safely switch on the hot water and, if needed, the heating too.
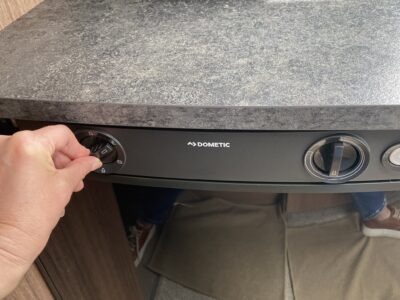
Switch the fridge onto mains hook up, although if you want it to cool quickly, select gas as the fuel source and run for a few hours until cold, then switch back to electric.
-
Step 9: Unpack
Unpack your possessions and set up things like your TV, any ornaments, and lamps. And don’t forget the all-important caravan kettle!
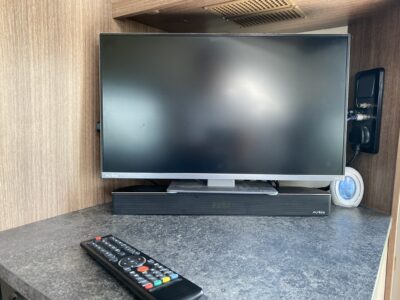
The caravan is now set up and ready for your holiday.
-
Step 10: Make a brew!
To check everything is working and to test all the services in the caravan, make sure the cooker can light, the toilet can flush and that water is running through the taps. In fact, it’s a good time to make a cup of tea!
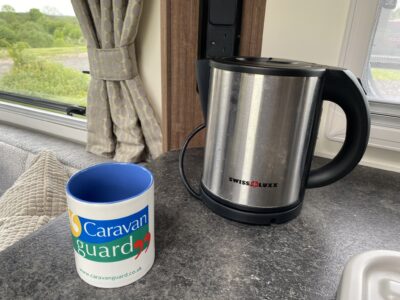
If you have one, you can now add an awning or canopy to the caravan and set up any outside furniture, including a BBQ, and even a windbreak.
Over to you…
Do you have any tips on how to set up a caravan that you’d like to share? Feel free to comment in the box below.
To find out more about our highly-rated caravan insurance and to get a quote visit our caravan insurance discounts page here.


It is also worth checking that the electrical Polarity of the supply is correct AND to check proper functioning of the Main Circuit Breaker (RCD) after connecting the mains hook-up lead.
Have a favourite meal in the fridge that is already prepared and pop in the oven whilst you put up the awning or relax with a cuppa.
What a great idea Hilary. Thanks for sharing
Get yourself into a routine on setting up, that way when you reach your site, it becomes second nature as people say, then more than likely it’ll be a breeze.
Great advice Robert
Good advise
very informative
I use the Truma app for levelling the van. It shows a plan of the caravan/motorhome and a ball that wanders around until the caravan/motorhome is level. It is very easy to use.